Setup Dropbox onto the Raspberry Pi
- Step 1:

- Step 2: This command is being run as root and is installing the file that is being downloaded from the internet which
in this case is git

- Step 3: The command in this case is cloning the file that has been downloaded to git and putting it on the raspberry pi

- Step 4: Here we are accessing the dropbox uploader directory and then making a file within it executable
by using chmod and x.

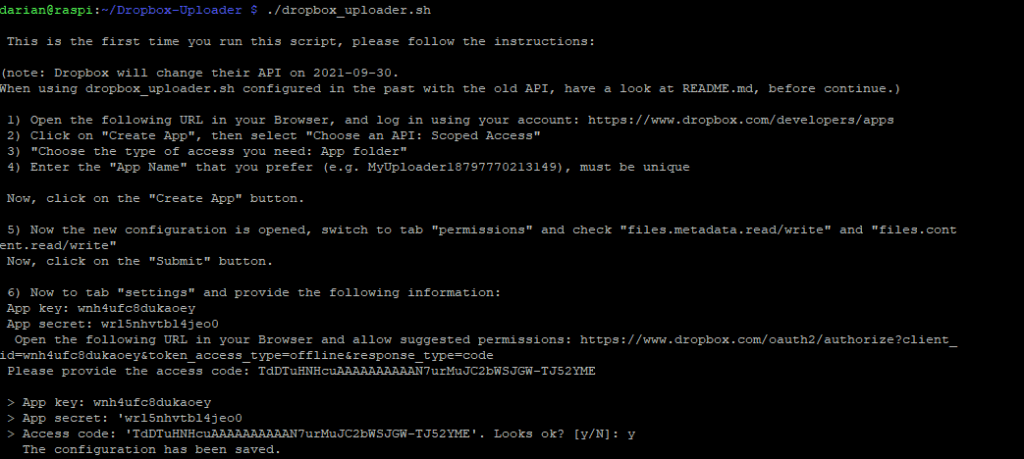
- Step 5: What is happening here is that you need to input a few details and follow the process in order to finish tasks.
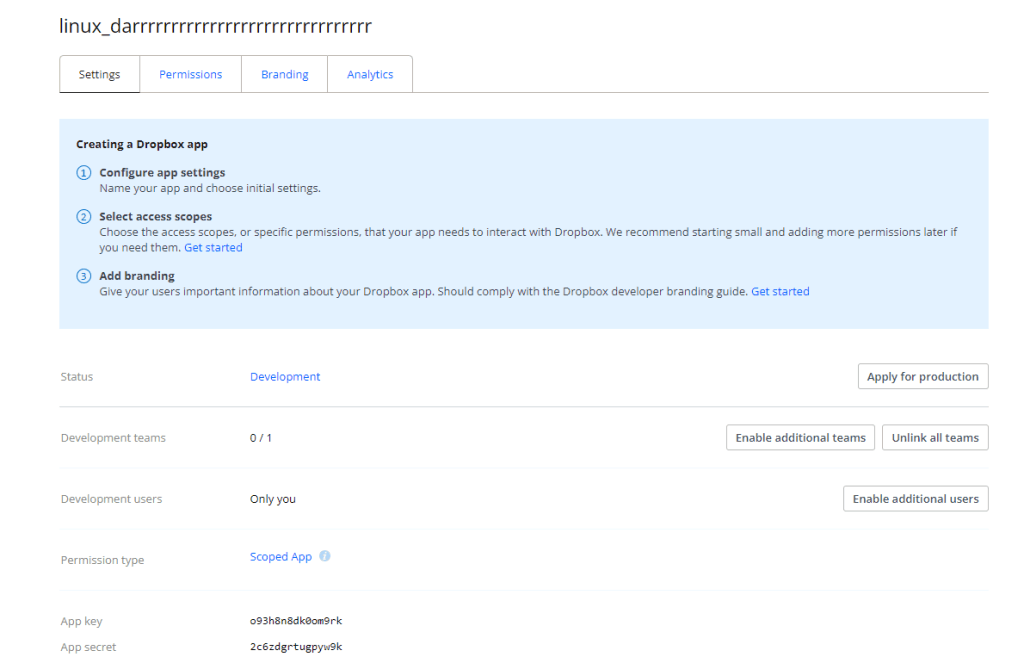
You would need to provide the App key, App secret and then the access code.
The link below will help with finding the necessary information.
What is very important is that before you touch the app key and all that you would need to change some of the permissions before hand our else it will not work.
https://www.dropboxforum.com/t5/Dropbox-API-Support-Feedback/How-to-apply-for-an-app-key/td-p/260021
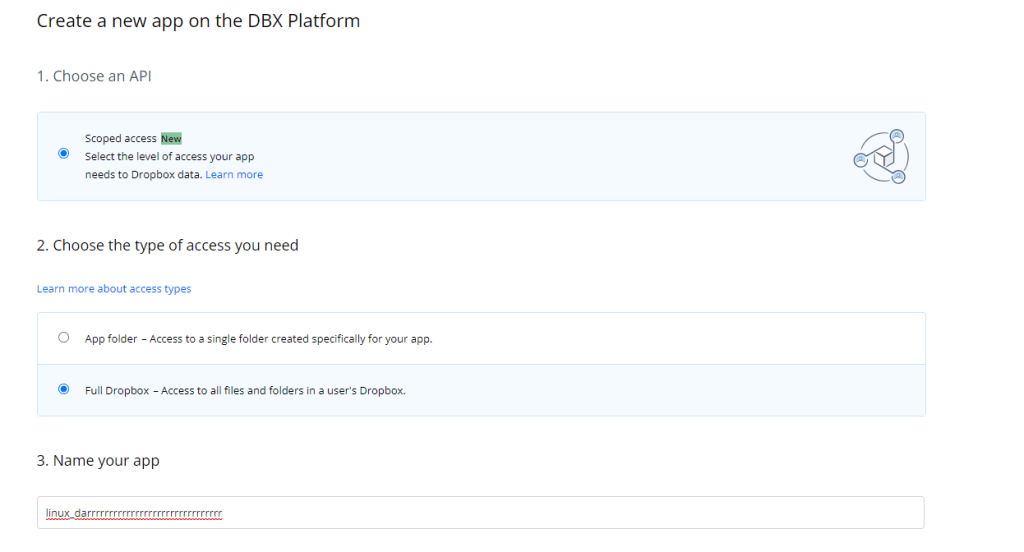
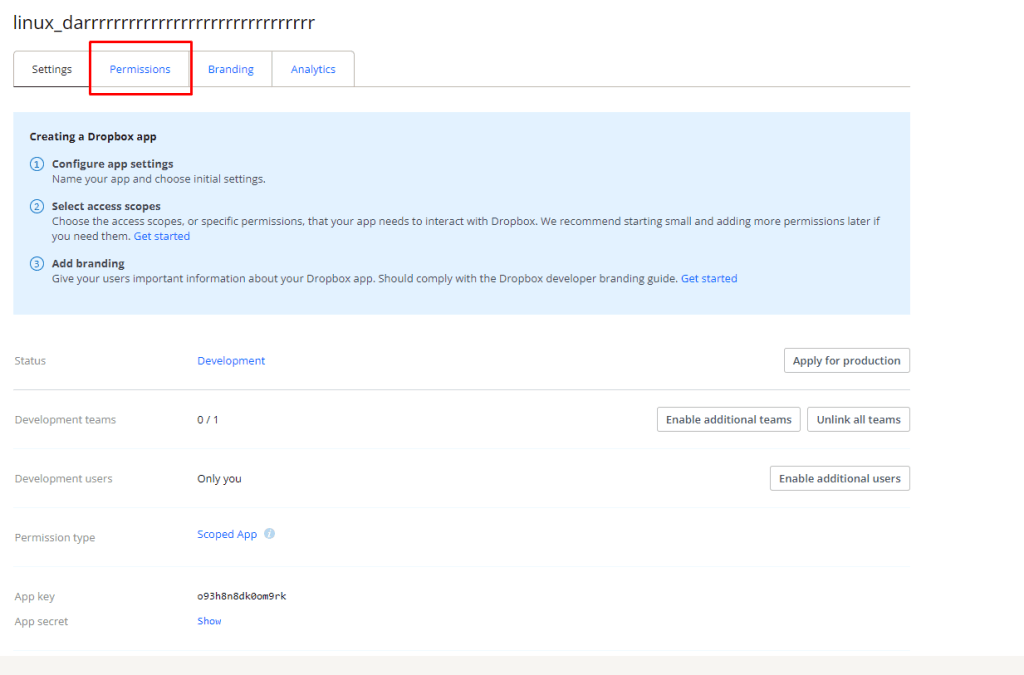
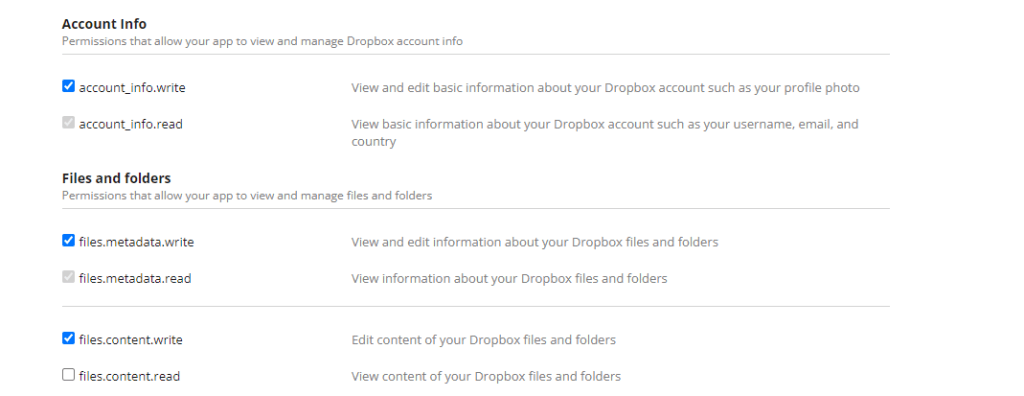
You want to tick these boxes.
This is where you will find the App key and Secret.
If everything is inputted correctly it should appear like on the command panel image below:
- step 6: After you have all the information, you should see if it worked correctly. You need to execute the file by typing ./dropbox_uploader.sh list

If it has worked correctly the results should be shown. Depending on what you have in your dropbox
SystemD files
- SystemD files are usually the files that you are able to insure the service boots up at the start as well as reactivating the service if the service seems to fail.
- I created the system D so that it automatically syncs the Dropbox with different connections and makes it stay connected.
Here is some of the code I have used:
