cPanel University
WordPress installation as well as Maria Database and phpMyAdmin
Installing WordPress
- install Apache2
- sudo apt install apache2 -y
- hostname -I

- Use the host name and put it into web browser
- install PHP
- sudo apt install PHP -y
- Now you need to first look for the HTML and then delete it.
- cd /var/ www/html
- create new index.html file and edit it.
- sudo nano index.php
- Paste following syntax into the file:
- <?php echo “hello world”; ?>
<?php echo date(‘Y-m-d H:i:s’); ?>
<?php phpinfo(); ?>
- <?php echo “hello world”; ?>
- close the file and make sure it saved.
- reboot Apache2 just to make sure that the syntax you inputted works on the website and displays the text.

- This is what we want to see. This is how you know it works.
- Next we will need to install MySQL onto the Raspberry Pi
- sudo apt install mysql-server php-mysql -y
- Once installed restart the Apache2 service. So we are not rebooting the whole machine but we are rebooting the service so the website basically.
- Once we have done this now we can star to install WordPress itself.
- You will need to delete the what is inside the index.html directory. Doing this makes sure that this is a clean install.
- cd /var/www/html
- sudo rm *

- So we need to now install wordpress from the internet by using the command wget and as you can see the command is zipped that we are going to be using becuase of the tar.gz syntax.
- sudo wget http://wordpress.org/latest.tar.gz

- Now we need to extract the content from the zip file:
- sudo tar xzf latest.tar.gz
- We want this content to be moved to the html directory.
- sudo mv wordpress/* .

- before carrying on I think it is good to neaten things up a little bit.
- sudo rm -rf wordpress latest.tar.gz
- This command forceably removes any file within the directory that has latest.tar.gz.1

- Now we need to set the Apache user as the owner of the directory:
- sudo chown -R www-data: .
- After that the next thing we need to be doing is configuring MySQL
- sudo mysql_secure_installation

- When it asks questions you need to say yes to mainly everything.
- Remove anonymous users
- Disallow root login remotely
- Remove test database and access to it
- Reload privilege tables now
- Now we need to create the WordPress Database:
- sudo mysql -uroot -p
- it will ask you to input the password to proceed.
- Remember I used a password to get onto the raspberry Pi, where some people use public key authentication rather which you don’t need a password for.
- This opens the MariaDB monitor as well as giving the root user database privileges.The reason why we can use capital letters in this case is because we are in the database so we do not need to be case sensitive.
- create database wordpress;
- GRANT ALL PRIVILEGES ON wordpress.* TO ‘root’@’localhost’;
- FLUSH PRIVILEGES;
- Then exit the database by using:
- CTRL + D
- Installing and configuring WordPress
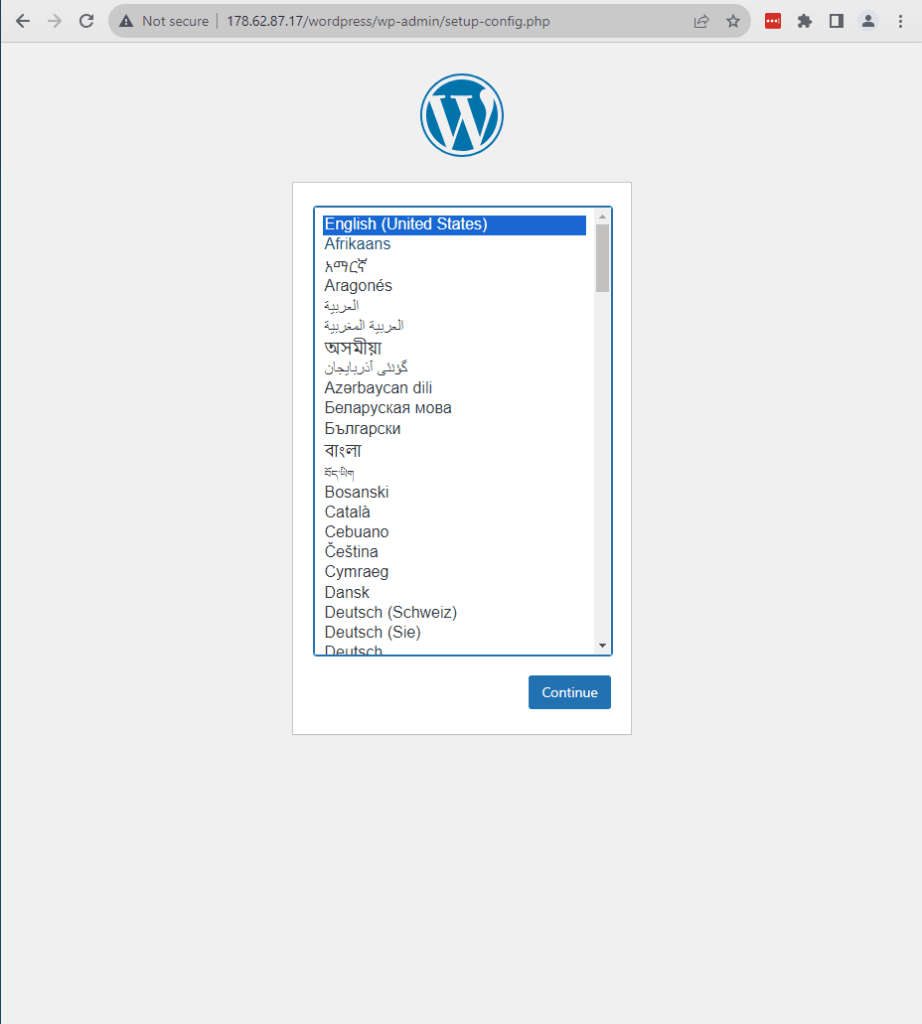
When you load up the page you will see this. All you need to do is click on the file and it should load up WordPress for you.


http://178.62.87.17/wordpress/wp-admin/setup-config.php?step=1&language=en_GB
All should be good from here as we completed everything was needed.
Install phpMyAdmin
I will list all the commands in order for the process of installing phpMyAdmin
- sudo apt install phpmyadmin
Select Yes on the control panel
follow the steps provided.
- sudo mysql -u root -p
- GRANT ALL PRIVILEGES ON *.* TO ‘root’@’localhost’;
Then we need to Configure the Apache for PHPMyAdmin
- sudo nano /etc/apache2/apache2.conf
- Include /etc/phpmyadmin/apache.conf
- sudo service apache2 restart
Accessing PHPMyAdmin
In your browser paste this:
- http://192.168.1.108/phpmyadmin
Then phpMyAdmin should load after you select the folder

